
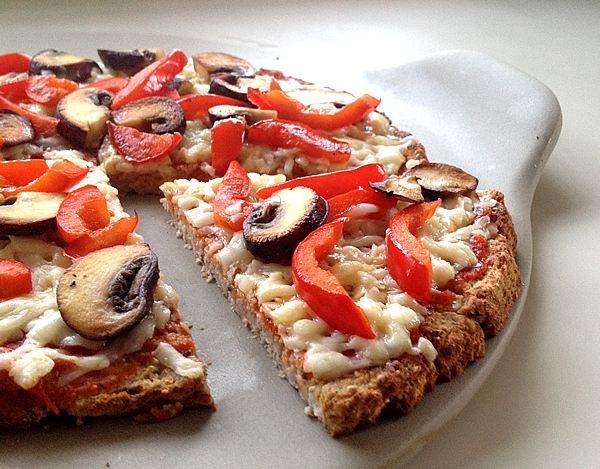
Grain-Free, Guilt-Free Pizza!
“I just really miss eating pizza with my family.”
This lament from my client struck a familiar chord with me.
Because when we hosted a build-your-own-pizza night for our friends on New Year’s Eve, I resorted to making myself a gluten-free flour base for my own creation…
This is not how I usually roll! And I felt nicely bloated from it on New Year’s Day! (because gluten-free flours can be hard work for your body too, yaknow!)
My client’s similar dilemma kicked my butt back into my usual approach to such a challenge.
So I set to work to create a grain-free, healthy alternative that would mean my client could join in with her family’s traditional Friday Pizza + Movie Night.
- If you have ever looked longingly at a friend’s thin-crust-with-extra-cheese.
- If you have ever wished you’d had that one last Hawaiian before being diagnosed celiac.
- Or even if you wished that new gluten free option from your fave pizza chain didn’t leave you feeling bloated…
This grain-free pizza crust is going to change everything…
Because not only is this recipe grain-free, it replaces that white flour with a wholesome yet somewhat unlikely vegetable – the humble cauliflower.
And you know what? you wouldn’t even know it from the taste.
Don’t believe me? Seriously, try it for yourself!
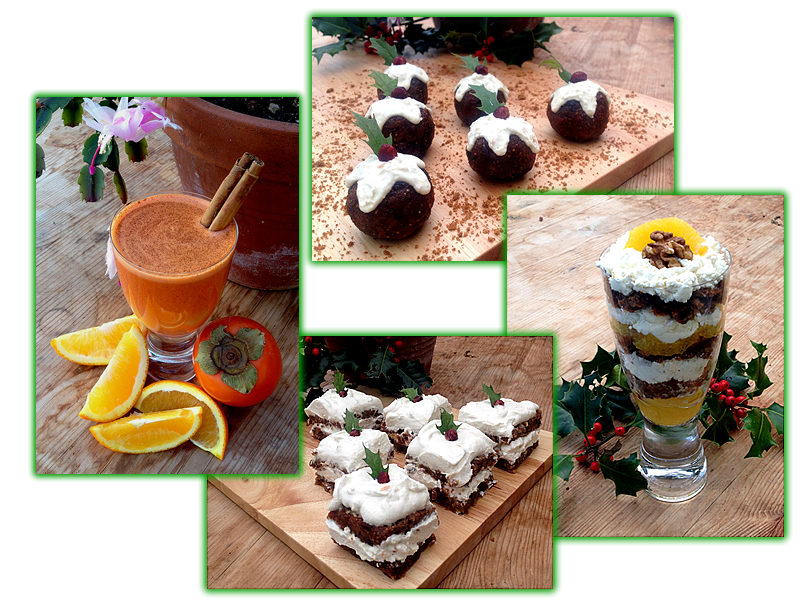
If you’ve read my book Don’t Toss the Juicer Pulp, you could even consider this a bonus recipe. Because although you can make this recipe without a juicer, it’s easier if you have one AND you’ll get a juice from it too.
You can use the cauliflower juice in several ways:
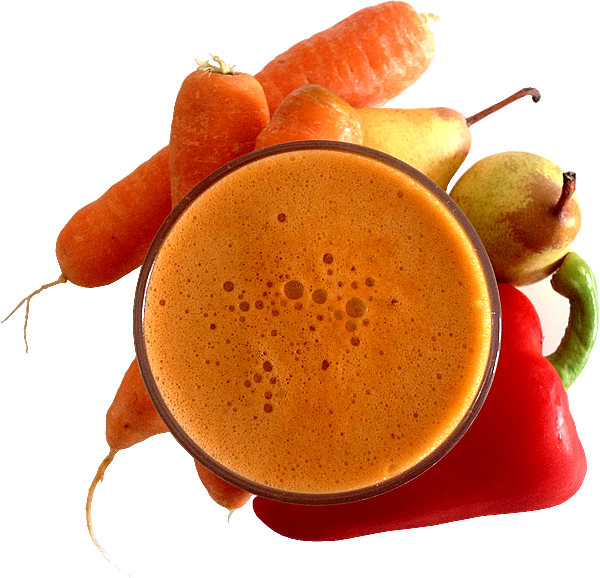
- Drink it as a shot in the same way as the Broccoli Anti-Cancer Shot in my book – Don’t Toss the Juicer Pulp.
Cauliflower has many similar anti-cancer nutrients to broccoli. - Add it to the other juiced ingredients in the recipe for Marvellous Melon Metaboliser in my book.
- Juice a chunky slice of pineapple (after you have removed your cauli pulp), mix with the cauli juice and drink!
Just in case you’re thinking this right now…
Why Use Cauliflower In A Pizza Crust???
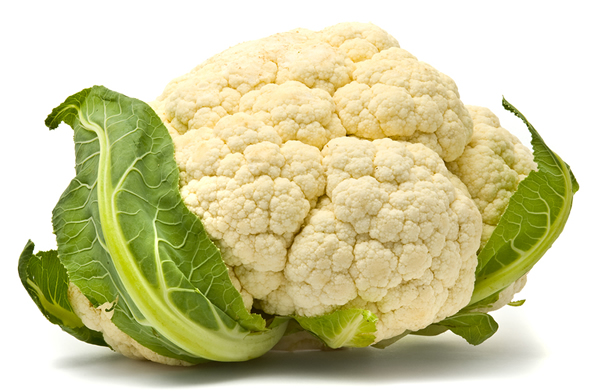
First of all, it’s an opportunity to replace a simple, processed carbohydrate such as the white flour in pizza crust, with a REAL, WHOLE vegetable. And that is always a good step for your health.
Second, if you received my Take5 Recipe Series, you will already know I’m a fan of cauliflower and its nutrient super powers:
- There are dozens of studies that have linked cauliflower-containing diets with cancer prevention, in particular bladder cancer, breast cancer, colon cancer, prostate cancer, and ovarian cancer.
- As an excellent source of vitamin K, cauliflower provides us with one of the hallmark anti-inflammatory nutrients.
- The fibre content of cauliflower makes this cruciferous vegetable a great choice for digestive system support
- Sulforaphane (made from a glucosinolate in cauliflower) can help protect the lining of your stomach. This is of great importance to anyone who has food allergies, chronic fatigue or an auto-immune disorder, as ‘leaks’ in the gut wall exacerbate these conditions.
So let’s get down to it, shall we?
Grain-Free, Guilt-Free Pizza Crust
Grain-Free, Guilt-Free Pizza!
Ingredients:
- All the pulp from 1 juiced head of cauliflower
- 1 Tablespoon ground nuts – I used a mix of almonds and pine nuts ground in my blender, but you can use any nuts you like
- ½ Cup (I use the fluid cup measurement even though it’s cheese) grated cheese – I used a 50/50 mix of hard goats cheese/soft goats cheese, but honestly just use what you want!
- 1 Tablespoon of dried herbs – oregano, basil or mixed Italian herbs all work well
- 1 teaspoon baking powder (use a brand labelled gluten-free if you are gluten sensitive)
- 1 egg, beaten
- 1 Tablespoon Chia Seeds soaked for 5 minutes in 2 Tablespoons of water
(I used white chia seeds to keep the colour light, but you can use black, white or a mix)
Equipment Tips:
A pair of silicone baking trays will make this recipe much easier to make. Otherwise, you can use flat baking trays with baking paper.
A 12inch square of muslin is a handy piece of equipment to have in the kitchen, and ideal for this recipe. Otherwise, use a clean tea towel.
A flat, wide spatula slice (silicone is great!) is ideal for easing the pizza base from your tray.
Make the Magic
Note: These instructions look lengthy but they really are not. I’ve just explained some steps in a lot of detail to ensure you get the desired outcome – a truly workable and delicious pizza crust without using grains. Okay, let’s go…
1. Preheat oven to 220c / 425f
2. If you are using a silicone baking sheet, lightly spray or brush it with a little oil.
3. Place your baking tray in the oven as it is preheating – you just want to get a little heat on it while you mix your ingredients.
4. Processing Your Cauliflower:
If you have a super-efficient masticating juicer, you can probably skip this first step, depending on just how dry your cauliflower pulp is.
If (like me) you have a centrifugal juicer, we will be extracting that last bit of moisture from your pulp in the next step.
If you are using a blender, you need to blend the cauliflower florets as finely as possible and then do this:
Pile your cauliflower pulp into the centre of a square of clean muslin or a clean tea towel, gather the cloth around the pulp and twist and squeeze out the remaining liquid. You will be left with a firm-ish ball like this:

Squeezed Cauliflower Pulp
I squeezed another ¼ cup of liquid from my juiced pulp with just a few good twists!
If you have used a blender, you will get a lot more juice from your cauliflower – keep going until you can squeeze no more!Once you are satisfied that your pulp is well and truly squeezed:
5. Place the cauli pulp and all the remaining ingredients in a bowl and mix thoroughly. I like to do this with my hands, squeezing the mixture between my fingers to really blend them and ensure the mixture will stick together.
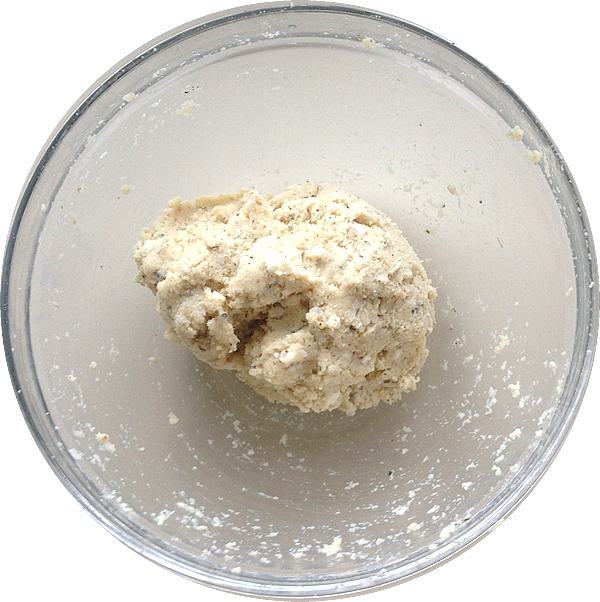
Cauliflower Pizza Dough
6. Form the ‘dough’ into a ball and roll it into a smooth ball in your hands.
7. Remove your baking tray from the oven and place the dough ball onto your tray.
8. Use your hands to press, flatten and shape the ball into a pizza base approx ½ inch / 1cm deep.
TIP: As you tidy up the edges, keep them a little thicker than the rest of the base – the edges will brown quicker and a bit of extra thickness stops them from crisping too much.
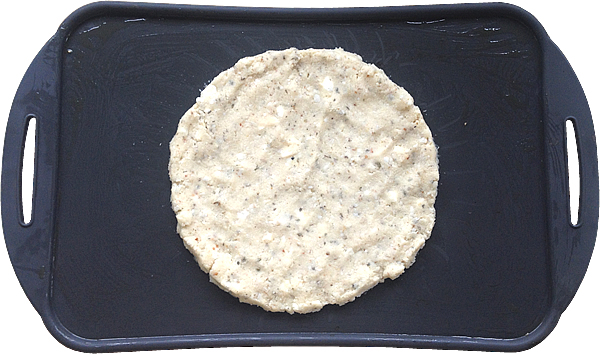
Cauliflower Pizza Base on Silicone Tray
9. Bake in the middle of the oven for 15 mins, until the base is browning on top and losing its ‘wetness’
Okay, this next bit can be a bit tricky. But this step really transforms this recipe into a workable alternative to a bread pizza base. Trust me on this:
10. Remove your base from the oven, gently loosen the base from the tray by sliding a flat spatula between the two, working your way gently around the base until all of it has been loosened.
11. And then you flip it!
If you are using a silicone baking tray this is where a pair of them comes in really handy: you can simply place the second tray on top of the first and turn upside down (wearing suitable heat protection on your hands, of course).
If you only have one suitable baking tray, flip your base onto a large plate or chopping board, then slide it back onto your tray.
12. Return to the oven for a further 10-15 minutes, until it is browning and drying on the top side.
And there you have it! A grain-free, gluten free and delicious pizza base made from an actual vegetable.
Grain-Free, Guilt-Free Pizza!
I can also happily tell you that I have thoroughly tested this pizza base and it freezes really well (I was worried it would go soggy but it didn’t). Just defrost thoroughly, preferably on a baking tray, and then pop in the oven to warm through before adding your toppings.
Now please tell me in the comments below….
Will you try this recipe?
What is your reason to try a grain-free pizza option?
I would love to know, so please get the conversation going below.
Buon Appetito!